How to Remove a Background with Photopea
Remove a background with Photopea using Magic Cut, correct the red and green marks, soften hair edges, and export a transparent PNG for your next design.
On this page
To remove a background with Photopea, open the photo, use Magic Cut, mark what to keep and remove, and export PNG. You need the original image and a browser. This guide uses the controls in Photopea's official Magic Cut tutorial, with a manual correction pass before the final export.
Remove a background with Photopea: start with its first guess
Magic Cut already places red and green marks when it opens. You don't have to paint every pixel. Green points to the subject, red points to the background, and the preview shows what those hints produce. A mark on the wrong side can remove something you meant to keep.
My preference is to correct those hints before changing the edge softness. If a red stroke crosses someone's sleeve, a softer edge won't restore the missing sleeve. Look first at which regions the tool is being told to keep. The Photopea project page links to the editor.
1. Open the original photograph
Choose File → Open and select the image. Use the largest original that is practical for the work, rather than a screenshot of a preview. A clear edge between the subject and background gives you more to work with when checking the cutout later.
If the document has several layers, select the photograph you mean to cut. Keep a separate copy of the original photo in your files. That lets you start a new version if the composition changes without trying to reconstruct pixels from an exported cutout.
2. Open Magic Cut
Choose Select → Magic Cut. The official tutorial shows the source image on the left and the cutout preview on the right. Inspect the initial marks and the preview before adding a stroke. You may only need to correct a small background region or restore part of the subject.
Use the brush-size control at the top for the region you're marking. A broad brush makes sense for the middle of a plain wall. A smaller brush gives you better control near fingers, thin straps, or the space between an arm and a body. Keep the strokes inside their intended regions.
3. Correct foreground and background marks
Use Green to mark the object you want, and Red for areas you want removed. If the first guess has green in the background or red on the subject, use Grey to erase that wrong hint. You can also use Clear to start the hints again.
Treat the preview as feedback on each change. If a gap inside a handle still shows the old background, add a red hint in that gap. If a dark detail on a shoe disappears, add green within the shoe. Painting a long line along the entire outline usually gives you more hints to correct without explaining the image better.
4. Adjust the border for the subject
Begin with Border at 0 while establishing the cutout. Photopea's tutorial describes that setting as a hard foreground/background split. Once the regions look right, increase Border gradually for softer transitions. The tutorial suggests 20 or more for hair or fur; use the preview to judge your photograph.
A product box and loose hair need different edges. For a box, excessive softness can eat into the printed label. For a portrait, a hard edge can make fine hair look clipped. Zoom into the actual details that will remain visible in the final design, rather than making the entire outline equally soft.
5. Confirm the cutout and export PNG
Choose OK when the right-hand preview contains the subject you want. Then use File → Export As → PNG, followed by Save. PNG preserves transparent areas. JPG can't carry that transparency, so it is the wrong delivery format if another design needs to show through the removed background.
Give the output a name such as red-mug-cutout.png. Keep it separate from red-mug-original.jpg. If the cutout is going into a banner, save the banner's editable document as well. The transparent PNG is an asset for that layout, and doesn't store the other banner layers.
Known problems and fixes
In Photopea issue 5723, a user reported a missing right-hand preview and a fully transparent result after confirming. Don't accept an empty preview as a finished cutout. Cancel that attempt, reopen the image, and begin with fresh hints; use another selection method if Magic Cut still produces no visible subject.
For a result that shows the subject but removes a particular detail, revisit the red and green placement. For a visible subject with an awkward outline, adjust Border. Those are different fixes: the first tells the tool which region belongs, while the second changes the transition between regions.
| Problem | What to inspect | Fix |
|---|---|---|
| Part of the object disappears | A red hint on that object | Erase the hint and mark the object green |
| Background remains inside a gap | The gap has no background hint | Add red inside the gap |
| Fine hair has a cut-paper edge | Border is too hard for the photograph | Increase Border gradually and inspect the preview |
| The preview contains no subject | Magic Cut failed to show a usable result | Cancel and reopen; don't export the empty result |
Two variations
For a new solid backdrop, put the finished subject over a separate colored layer and export the combined design. Photopea's layer-mask documentation explains how masks hide regions while keeping the underlying layer content. A mask-based workflow is a better starting point when you expect repeated edge changes.
For a web article, place the cutout in the final canvas before compressing it. A white mug on a pale background can need a different outline treatment from the same mug on charcoal. After the composition is approved, TinyPNG or Squoosh can handle the delivery image.
Completion checklist
- The cutout includes every part of the subject you need.
- Interior gaps no longer show the original background.
- Fine details look right at the final display size.
- The output is PNG when transparency must survive.
- The untouched source photograph remains in your files.
FAQ
Can Photopea run after I disconnect from the internet?
Photopea's introductory documentation says the editor can keep running after you load it and disconnect. Open the editor before going offline and keep the tab available. This describes its local editing workflow; network features and remote assets still need a connection, so bring the image files you intend to edit onto the device first.
Is a phone the best device for this cutout work?
Photopea works in a browser on phones, but its documentation recommends a large screen, a precise pointing device, and a keyboard for comfort. For a subject with thin gaps or detailed hair, I would use a desktop or laptop. A larger preview makes it easier to inspect the marks without covering the edge with a finger.
Can I keep text editable in the final banner?
Yes, save the banner as PSD to preserve its document structure, and create a separate image export for publishing. Photopea's Open and Save documentation identifies PSD as its main editable format. A transparent PNG cutout can sit inside that PSD alongside text layers, so a later headline change doesn't force you to rebuild the layout.
Next steps
For a desktop selection workflow, visit GIMP. Explore image-editing tools or the broader Creative & Design section if your next task is layout, typography, or an illustration.
Sources
Photopea's Magic Cut tutorial and mask guide supply the controls and image behavior. Its Introduction and Open and Save chapters supply the device, offline, and PSD details. The linked developer issue supplies the empty-preview report. Checked October 9, 2026.
Related articles
Directory
Listings in this article
-
Photopea
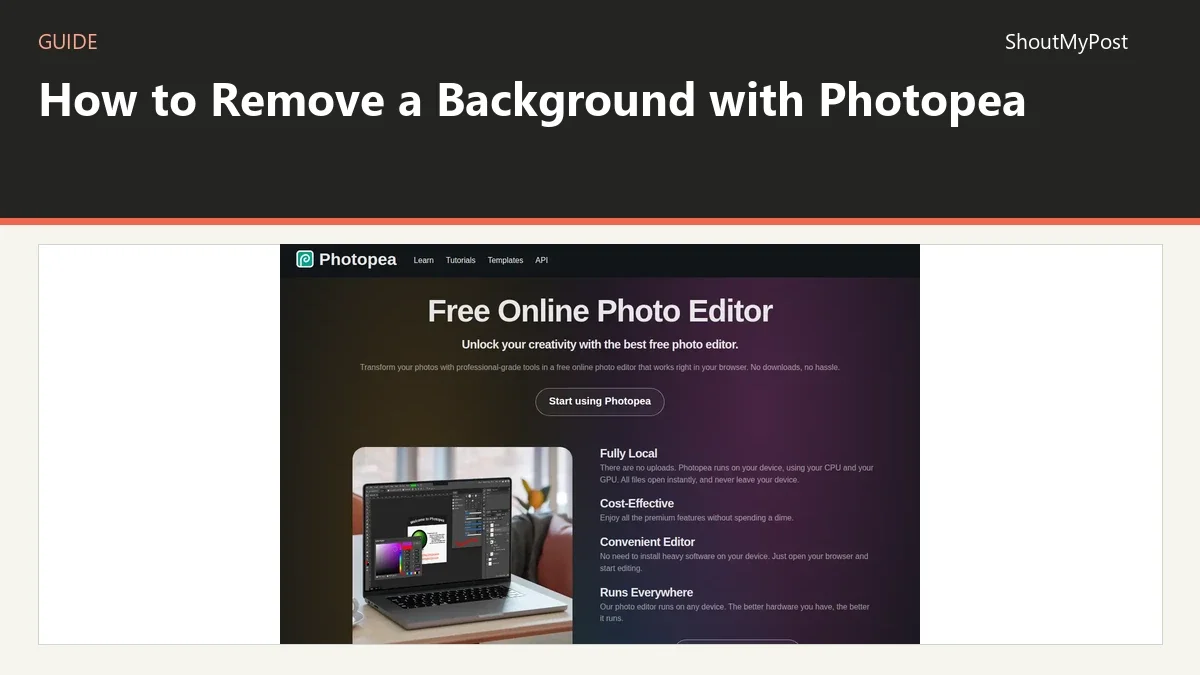
Photopea is a free online photo editor that runs directly in web browsers with no required downloads or file uploads. It supports professional file formats including PSD and RAW, and offers editing tools such as cropping, resizing, layering, masking, and blending. All processing occurs on the user's device, so files never leave their hardware.