How to Export Video from OpenShot
Export video from OpenShot as a playable MP4. Choose the right profile, retain source files, handle missing media, and inspect the finished video and audio.
On this page
To export video from OpenShot, finish the timeline, open File > Export Video, and render an MP4 using the default H.264 and AAC settings. You'll need the project and its source media. The result is a video that can play outside OpenShot, separate from the editable project.
Export video from OpenShot with the original media available
OpenShot's optimized preview files aren't the files used for final export. Its Files manual says the rendered result still uses the original source media. A project that previews smoothly can therefore need a source file that you moved or unplugged after creating the smaller preview copy.
Keep the source disk connected through export. For a project on an external drive, finish the render before disconnecting it. The OpenShot project page has the directory details; this guide follows the current 4.0.1 manual, checked October 9, 2026.
My starting choice is the default MP4 output. Change a setting when the destination needs something specific, such as vertical dimensions or a smaller review copy. Changing every export control at once makes a bad result harder to diagnose.
1. Finish the timeline and save the edit
Play the project from its first clip through its ending. Look for a stray clip far beyond the intended finish, a title that disappears too early, or an audio bed extending into an empty tail. Write down the point where the finished video should end.
Save the editable project before rendering. Keep the filename clear enough to connect it to the output: a project named Launch-demo-edit and an output named Launch-demo-review are easier to identify later than several files named final.
If you need to move the project, keep the source clips and project in a common parent folder. The Files manual explains its relative-path handling. A project file references the media; it doesn't become a portable movie by itself.
2. Open the export dialog
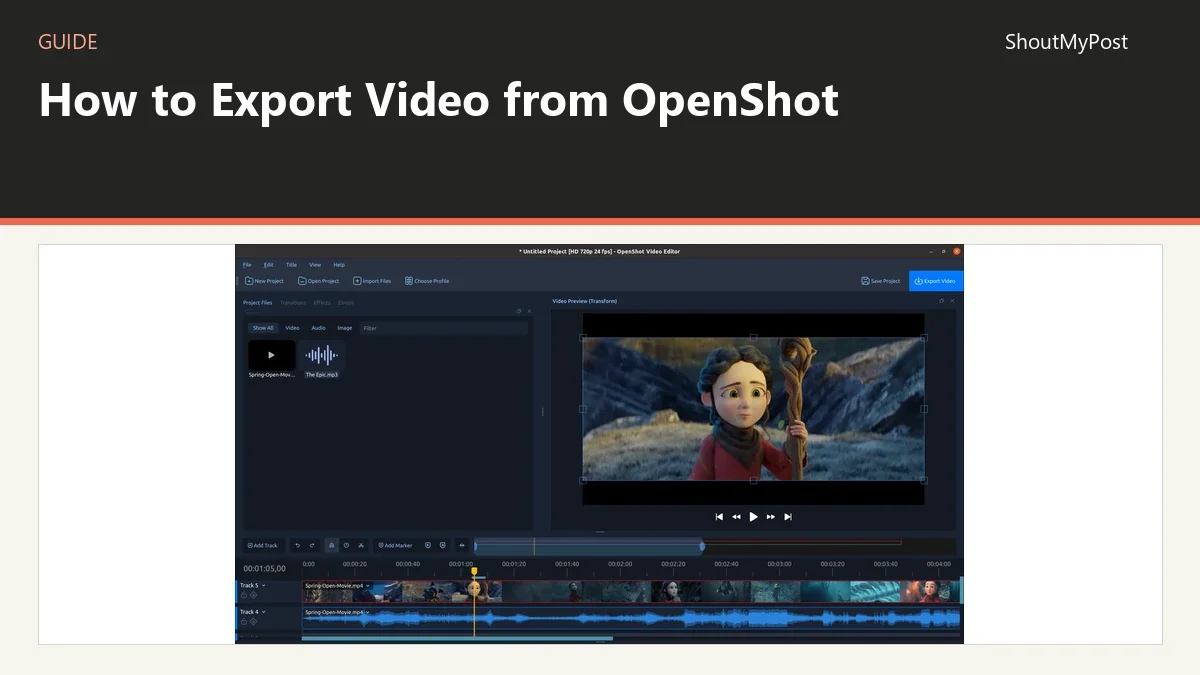
Use File > Export Video, or the Export Video icon on the top toolbar. OpenShot's export manual confirms both routes.
Begin on the Simple tab. It holds Profile, Target, Video Profile, and Quality. Choose the preset corresponding to the delivery format, then check that the dimensions and frame rate match what you meant to produce.
For a first ordinary web video, keep the default MP4 H.264 and AAC choice. The filename extension describes the container; the video and audio codecs describe the contents. Renaming a different output to .mp4 doesn't change those contents.
3. Match the picture shape
Compare the intended output shape with the project preview. A wide demonstration and a vertical phone clip need different profiles. If the exported shape changes, text near the edge can be cropped or black bars can appear.
Use Video Profile to choose the appropriate size and frame rate. A vertical export should begin with a vertical composition: move titles into that frame and inspect how the subject is positioned. Selecting a vertical output after designing a wide scene doesn't automatically recompose it.
For a review copy, put the intended destination and dimensions in the filename or a short accompanying message. The recipient can then judge the correct version instead of mistaking a small review file for the final delivery.
4. Choose the whole project or a frame range
For the complete edit, use the normal end of the timeline. If you need only a section, the Advanced tab includes Start Frame and End Frame. It also includes Export To for video and audio, audio alone, video alone, or an image sequence.
Write the intended excerpt's start and finish beside the export name. If the project includes several separate segments, don't assume opening the export dialog on one selected clip makes that clip the only output.
For separate source segments, the Files manual describes Split File and Export Files. That is a different route from rendering a combined edited timeline. Choose based on whether you want the edit's effects and sequence or individual media segments.
5. Render, then play the saved file
Select Export Video and let the render finish. Open the output in a separate media player. VLC is one option for inspection; the important step is reading the saved file rather than replaying the editor's timeline.
Watch the opening, an edit in the middle, and the ending. Listen to speech and music through the same output. Check that the file you open has the name you just exported, especially if an older review copy sits in the same folder.
Then upload the file to its intended destination if this is a delivery export. A file can play locally yet fail the receiving site's format or size limit. Keep the original export until the recipient's copy plays correctly.
Known problems and fixes
In a June 2026 export-dialog thread, a user couldn't open the export window. A human reply asked for the operating system, exact OpenShot version, whether other projects failed, and available disk space. Save the project, restart the computer, and try a small new project to separate an application problem from one edit.
A June 2026 Linux Mint discussion described exports missing audio or video. A community helper suggested checking the exact build and playing a simple export locally before focusing on Discord. Another user reported success after matching settings at export. Begin with a plain local render before adding upload behavior to the diagnosis.
| Problem | Likely cause to inspect | Next action |
|---|---|---|
| Missing File message | Source moved or disk disconnected | Restore the source location or locate the requested folder |
| Export dialog doesn't open | Application or environment problem | Save, restart, and compare with a small new project |
| Unexpected empty ending | Timeline contains material past the intended finish | Remove the stray material or set the output range |
| Picture shape differs from preview | Export and project aspect ratios differ | Choose the matching profile and inspect edge text |
Two variations
For a short review excerpt, export a frame range and name it after the segment. Include a few seconds around the edit you want reviewed so the viewer understands the transition. Keep the whole-project render for final approval.
For a vertical social clip, compose the timeline for the vertical frame first. Preview the title at the narrowest reading size the recipient will use. A title that looks comfortable on your monitor can be hard to read when the video occupies a phone screen.
Completion checklist
- The original media remains available during rendering.
- The output shape matches the intended destination.
- The saved video contains both the expected picture and sound.
- The ending has no accidental empty tail.
- The recipient can play the delivered copy.
Next steps and sources
Browse video editing for other editors. Shotcut is another desktop timeline, Blender combines editing with animation work, and HandBrake handles later conversion of finished files. These are separate jobs; keep the editable OpenShot project for changes to the cut.
OpenShot Export, Files and Profiles manuals, plus the linked human community replies. Official settings checked October 9, 2026.
Related articles
Directory
Listings in this article
-
OpenShot
OpenShot is a free, open-source video editor for Linux, Mac, and Windows. It provides color grading and scopes, video effects, keyframe animation, timeline editing, transitions and wipes, interactive video masks, audio visualizations, and 2D and 3D titles. The project is written with Python and PyQt5, uses a C++ backend built on FFmpeg, and is distributed under the GNU General Public License.