How to Export Transparent PNG from GIMP
Learn how to export transparent PNG from GIMP, keep an editable XCF, add an alpha channel and fix white backgrounds or missing transparency in your image.
On this page
Here's how to export transparent PNG from GIMP: add an alpha channel, remove or hide the background, then export as PNG with alpha included. You'll need GIMP and the image you want to edit. Keep an XCF copy as well so the layers remain available after you share the PNG.
Keep the checkerboard out of the picture
GIMP's checkerboard shows transparent areas; it isn't part of the exported image. A viewer may display those same areas on white or black. That change of backdrop doesn't mean the PNG lost transparency.
An alpha channel lets a layer hold transparent pixels. It doesn't remove a white background by itself. If white is still painted into the image, you must remove that area or hide the layer that supplies it.
The official transparency guide explains the alpha channel and PNG export. My recommendation is to work from the layers first, then look at export settings. A white rectangle that is still visible behind the subject inside GIMP is an editing problem.
This guide covers GIMP. If you only need automatic subject cutouts, remove.bg is another route; it doesn't give you the same manual editing workspace.
How to export transparent PNG from GIMP
1. Keep an editable XCF copy
Use GIMP's native XCF format for the working file. PNG is the image you share; XCF is the project you can return to when someone asks for a different edge, layer or crop.
A name such as logo-working.xcf beside logo-transparent.png makes the two jobs clear. Exporting a PNG doesn't replace the value of saving the editable project. The PNG won't keep your layered editing setup in the way XCF does.
2. Select the layer that needs transparency
Look at the Layers dialog and select the layer containing the image you want to change. GIMP's manual says a layer name in bold indicates that it lacks an alpha channel.
For a subject on its own layer, the background may be a separate visible layer below it. In that case, hiding the lower background is enough to expose the transparent area. For a photograph with the background in the same layer as the subject, you must edit that layer.
3. Add an alpha channel
Choose Layer → Transparency → Add Alpha Channel. GIMP's current manual confirms that path and says the command adds alpha to the selected layers.
If the command is unavailable because the layer already has alpha, continue with the edit. You don't need to add it twice. Adding alpha changes what the layer can store; you still need to choose the area that should become transparent.
4. Remove the background area
Select the background you want to remove, then use Edit → Clear or the Delete key. The affected region should show the checkerboard. Keep the selection away from the subject you intend to keep.
For a round avatar, GIMP's official Circle Images tutorial uses Ellipse Select, Select → Invert, then Edit → Clear. A circle-shaped subject still lives inside a rectangular image; the corners are transparent. That is why a circular avatar can be exported as an ordinary PNG.
If the background is a separate layer, hide it instead of clearing the subject's layer. This keeps the background available in the XCF for a later version.
5. Export to a PNG filename
Choose File → Export As…. The confirmed keyboard shortcut is Shift+Ctrl+E. Give the output a .png filename and choose where it should go.
GIMP's export command writes a format other than XCF. JPEG doesn't support the transparent image you are making, so a .jpg output is the wrong target for this task.
6. Keep alpha in the PNG export
The PNG export dialog includes Pixel format. Its default follows the image settings; explicit choices can include or exclude alpha. Keep a format with alpha for a transparent result.
The dialog also has Compression level. PNG compression is lossless, so increasing compression doesn't blur the subject. Don't confuse this with a JPEG quality slider.
Finish the export, then reopen the saved PNG as a separate image. The file you reopen should have the expected canvas size and transparent area around the subject.
Known problems and fixes
Clearing paints the background color
A layer without alpha can't represent a transparent region. Add the alpha channel to that layer, then clear the intended area. If you selected the wrong layer, the visible result can also be confusing; use the layer names and thumbnails to find the one holding the background.
A white rectangle remains behind the subject
Adding alpha didn't remove that white rectangle. Check whether it is painted into the subject's layer or supplied by a separate visible background layer. Edit the first case; hide the background in the second.
Fully transparent pixels change color on export
A GIMP discussion asks about color values changing under alpha. The PNG dialog has Save color values from transparent pixels, but GIMP's manual says this works only for a single layer. It can't preserve that data when merging a multilayer image for export. The option controls hidden color data; it doesn't remove a visible background.
Troubleshooting table
| Problem | Cause | Fix |
|---|---|---|
| Delete leaves a solid color | Selected layer lacks alpha | Add alpha before clearing |
| PNG still has a white rectangle | White remains in a visible layer | Edit that region or hide its background layer |
| Export has no transparent region | Opaque pixel format or an opaque composition | Check the visible layers and choose a PNG format with alpha |
| Viewer shows white behind the subject | Viewer supplies a backdrop | Reopen in GIMP and inspect the alpha area |
| Invisible pixel colors are different | Merged export can't preserve all hidden colors | Use the single-layer option only when that data matters |
Variations
A round avatar: use the ellipse selection route above. GIMP's Circle Images tutorial confirms Fixed → Aspect ratio → 1:1 for a true circle and Image → Crop to Content for trimming empty space.
A logo with several layers: keep those layers in XCF. The shared PNG contains the visible composition, so check that no hidden draft becomes visible before exporting.
A smaller web asset: resize or crop deliberately before export. Squoosh can help with output compression afterward; SVG-Edit is a different route when the artwork should remain vector-based.
Completion checklist
- The PNG reopens at the intended size.
- The subject edge looks right against both a light and a dark backdrop.
- The export and editable XCF have separate filenames.
- The output folder contains the final version you intend to upload.
For browser editing, see Photopea or Pixlr. Use Figma when the transparent asset belongs in an interface design that others will review.
FAQ
Why is Add Alpha Channel grayed out?
The layer may already have an alpha channel. GIMP doesn't need to add the same channel again. Continue by checking which visible layer holds the background and editing that area. The official Circle Images tutorial calls out the grayed-out command as a sign that alpha is already present.
Does a PNG keep my GIMP layers?
A normal PNG export doesn't keep the editable layered project as XCF does. Save an XCF copy when you need to return to individual layers, masks or text. Use the PNG for the visible image you share or upload, and keep both files under clearly different names.
Sources
GIMP 3.2 manual pages for transparency, Add Alpha Channel, Export As and PNG export; the official Circle Images tutorial, checked October 9, 2026. The linked GIMP discussion covers hidden color values in transparent pixels.
Related articles
Directory
Listings in this article
-
GIMP
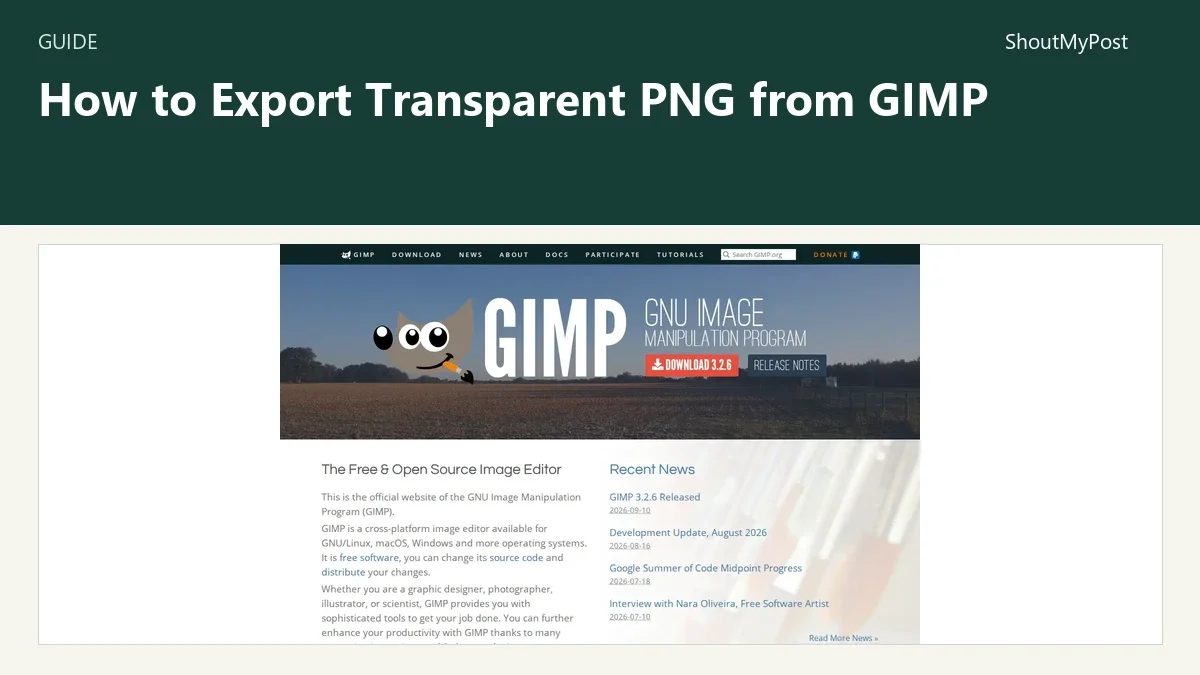
GIMP, the GNU Image Manipulation Program, is a free and open source image editor available for GNU/Linux, macOS, Windows and other systems. It is used for photo retouching, image composition and image authoring, with extensibility through plugins and scripting languages.