How to Compress Images with Squoosh
Learn how to compress images with Squoosh using resize, codec and quality controls. Compare the preview, download your file and avoid export problems.
On this page
Use Squoosh to make a smaller web image while comparing it with the original. You'll need the source file and a browser. This guide covers the current Resize, Compress and Quality controls, then shows how to inspect the exported file before adding it to your site.
How to compress images with Squoosh without uploading them
Squoosh processes the image on your device. Dropping a file into its browser window doesn't send that image to a compression server. Its repository separately lists Google Analytics visitor and size data, so local image processing doesn't mean the site collects no usage information.
My starting choice for a photograph is to compare WebP with MozJPEG. For a screenshot with small text, begin by looking at the text itself: the smallest download isn't the right result if someone can no longer read a menu label. The preview lets you make that decision on the actual image.
Keep your original file. Give the web version a separate name, such as product-page-1200.webp, so the editing source and the published asset stay easy to identify. The number in that example is a naming suggestion, not a Squoosh preset or a recommended width for every website.
1. Open your source image
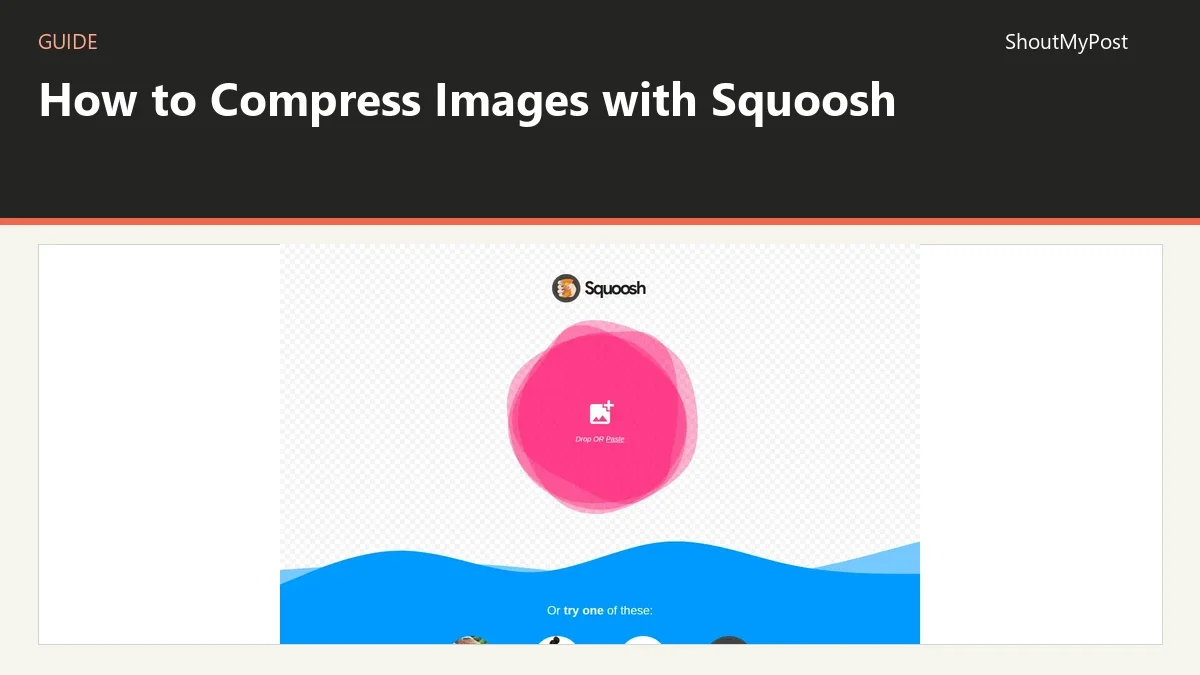
Open squoosh.app and drag your image into the opening area. The app also offers sample images; use your own source for the file you intend to publish. Once an image is loaded, the editor displays its comparison view and settings panels.
Start with the highest-quality source you have. An already compressed JPEG can carry visible block patterns around lettering or sharp edges. A later export can't restore detail removed from the source, and it can make those patterns easier to see.
If the image needs a new crop, added text or a corrected background, do that in an editor first. Photopea and GIMP handle those editing jobs. Squoosh's settings are for preparing the image you already have, so it shouldn't become the place where you try to repair an unfinished design.
2. Set the dimensions with Resize
Turn on Resize if the source is larger than the intended image area. Enter the desired dimensions in its size controls. The preview changes to reflect the resized output, giving you a chance to examine whether small details remain readable.
Choose dimensions from the page where the asset will appear. A narrow article illustration and a wide page header need different exports even when they come from the same photo. If your site creates responsive versions itself, prepare the source expected by that system instead of guessing a new width for every upload.
Resizing and compression change different things. Resizing changes the pixel dimensions; the codec determines how the resulting image is stored. Adjust the dimensions first so later quality decisions apply to the version you actually plan to use.
3. Choose an output in Compress
Open the Compress format menu on the output side. The current editor includes WebP, MozJPEG, AVIF and OxiPNG, among other options. Pick the format your publishing system accepts; don't choose an experimental codec simply because its name appears in the menu.
For a photo without transparent areas, WebP and MozJPEG are practical candidates to compare. For artwork that needs transparency, choose a format that supports it and examine the exported background. OxiPNG is the PNG option to consider when keeping the existing pixels matters more than discarding detail for a smaller file.
The menu also labels JPEG XL as beta and WebP v2 as unstable. Those labels are a reason to leave them out of a routine website upload workflow unless you have a specific downstream system that accepts the result.
4. Adjust Quality and inspect the preview
For an output codec that exposes Quality, adjust that control and watch the comparison. Move the divider over the parts people will notice: lettering, faces, smooth backgrounds and thin lines. The output-size display helps you judge the trade between visible detail and file size.
There isn't one quality number that means the same result for every codec and image. A flat diagram can react differently from a busy photograph. Treat each setting as a candidate you can see, not as a promise that a certain number always delivers the right appearance.
Leave Advanced settings alone for the first export unless a particular option solves a known problem. Reduce palette is another separate choice; reducing the color palette can change gradients or artwork. Change one setting at a time so you can tell which adjustment caused a visible difference.
5. Download the output and open it
Use the output Download icon when encoding finishes. Open the saved file outside the editor and inspect its dimensions, extension and appearance. You should have an ordinary image file that your publishing system can accept, with the version name you intended.
Look at the final page after uploading. A thumbnail and a full-width article image can expose different problems, particularly with text baked into a screenshot. If the CMS transforms the file again, the browser preview in Squoosh isn't the last version visitors will see.
Known problems
AVIF export keeps spinning in Safari
A January 2026 GitHub report describes the AVIF download control spinning in Safari 26.2, with an out-of-bounds memory error. The issue remains open. For an urgent asset, my fallback is a format your site accepts, such as WebP or MozJPEG; that is an alternate export route, not a confirmed repair for the reported Safari error.
A long PNG gains a border
In a July 2025 PNG export report, the author describes an unwanted left border after using the defaults. No resolved fix is listed. Inspect the saved edges before publishing. If your file shows the problem, export from the original through another editor instead of cropping away part of the artwork to hide it.
Troubleshooting table
| Result | Next action |
|---|---|
| Encoding doesn't finish | Try an accepted alternate output format; keep the source |
| Text looks damaged | Raise quality or choose a lossless output |
| Transparent area changes | Use a format that supports transparency and inspect the saved file |
| CMS refuses the extension | Export a format listed in that CMS's upload settings |
Two variations
For a product photograph, inspect the product's fine detail and any smooth backdrop. A smaller version should still show what the customer is buying; a patterned fabric or a graduated background can reveal artifacts that a thumbnail hides.
For a tutorial screenshot, keep the smallest menu text readable at the displayed size. If lowering quality damages the lettering, a lossless PNG route may be a better choice even when the download is larger. Don't turn an instructional screenshot into a blurred illustration merely to hit an arbitrary file-size target.
Completion checklist
- The exported dimensions match the intended placement.
- The file opens outside Squoosh.
- Text, edges and transparent areas still look correct.
- The CMS accepts the chosen format.
- The editing original is stored separately from the web copy.
Next steps
For a queue of images, TinyPNG offers a different workflow. Browse Image Utilities and Image Editing & Design for compression and editing tools.
Sources
Squoosh's live editor and repository README supply the controls and local-processing details. The linked export issues supply the two reported problems. Controls and issue status checked October 9, 2026.
Related articles
Directory
Listings in this article
-
Squoosh
Squoosh is a browser-based image optimizer for compressing and comparing images with different codecs. Images are processed locally and never leave the device. Users open an image, inspect differences, and save, with settings adjustable for smaller files.