How to Back Up Phone Photos with Immich
Back up phone photos with Immich using selected albums, Wi-Fi uploads, and background settings. Confirm the server copy and protect its files and database.
On this page
To back up phone photos with Immich, connect its mobile app to your server, select the albums, and enable backup. You'll need a running Immich server, your login, and enough server storage for the selected photos and videos. Start with a small album so you can inspect the first result.
Back up phone photos with Immich without leaving the server unprotected
Uploading a photo protects it from losing the phone, but the server needs its own backup. Immich stores library information in a database and the originals in files. Its automatic database dumps don't contain the photos. A complete server backup needs both parts, as the official Backup and Restore guide explains.
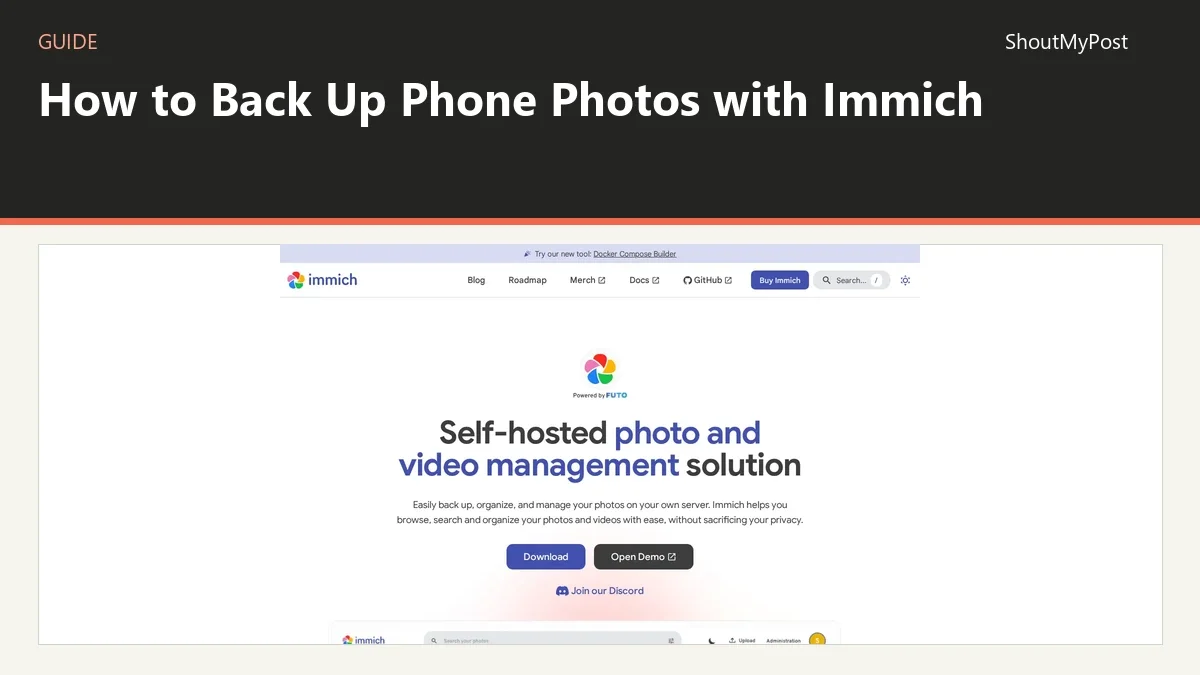
The Immich project page has the directory overview. This guide starts after the server is running; it doesn't install Docker or set up remote access. If you can already sign in through the server's web address, use that same reachable server for the phone app.
1. Sign in to your existing server
Install the Immich mobile app from the official Android or iOS distribution. Enter your server address and sign in. The official Mobile App guide shows the server endpoint on the login screen. A home-network address only works from networks that can reach that machine.
Before choosing a whole camera library, open the server in a browser and confirm that the account is the one you intend to use for these uploads. Give each family member their own account if that's how you've arranged the library. A first sample belongs in the intended person's library, not merely somewhere on the server.
2. Open the backup screen and select one album
Tap the cloud icon in the top-right corner of the app to open the backup screen. Select the device album you want uploaded. My starting choice is a small album containing a few photos and one video, with filenames you can recognize later.
The Mobile App manual confirms the cloud icon, album selection, and Enable Backup control. Keep the initial selection small enough to check every item. A small first album also makes a wrong account or unreachable server easier to spot before a large transfer begins.
Exclude an album by double-tapping it in the album selection. That matters on iOS, where one asset can appear in more than one album. Choose the material you actually want in this server library; don't assume selecting a broad album excludes videos or screenshots elsewhere.
3. Enable backup and inspect the uploaded sample
Scroll to the bottom of the backup screen and press Enable Backup. The selected assets should upload to the server. Open the web library and inspect the recognizable sample: open the image, play the video, and check that the expected items appear under the account you selected.
Write down the names of the sample files before widening the selection. The phone gallery can still show local media, so seeing an image on the phone alone doesn't confirm that another machine has a copy. Use the web library as the second view during this first check.
Immich skips identical assets already stored on the server by comparing file checksums. A file uploaded earlier through the web, CLI, or another device can therefore be skipped during the phone transfer. Compare the actual items present before treating a lower upload count as lost files.
4. Set background uploads for your phone
The default upload connection is Wi-Fi. Backup runs when you open or resume the app and periodically in the background. Keep the app open for the first sample so connection trouble is easier to separate from background scheduling.
On Android, inspect the system's battery controls if uploads stop when the app closes. Immich also has options to run background work only while charging and to set a minimum delay after taking a photo. Those choices can explain a waiting upload without changing the server.
On iOS, enable Settings > General > Background App Refresh for Immich. iOS chooses when the background task runs; the app can't promise an exact upload time. For a large initial transfer, plan around a visible session instead of expecting a locked phone to finish a deadline.
5. Check the server backup job separately
In the server's admin interface, Administration > Settings > Database Dump Settings controls the automatic dumps. The documented default is daily at 2 AM with 14 retained copies. A manual dump uses Administration > Job Queues > Create job > Create Database Dump > Confirm.
For the filesystem copy, Immich recommends backing up the entire UPLOAD_LOCATION. Its Backup and Restore manual names the original-file locations and the order for a consistent backup: stop the server if possible, or back up the database before copying the filesystem. Keep that copy away from the disk holding the live library.
Known problems with mobile uploads
An Android discussion from February 2026 includes a Pixel owner who had allowed background usage but missed a deeper battery setting. Opening the extra control and choosing unrestricted helped, although they still sometimes opened the app manually. Look at the detailed battery options for your phone model if the broad background toggle isn't enough.
A July 2026 iOS thread describes uploads that resumed only when the app opened after a version change. For that symptom, first compare an open-app sample with a background sample, then check Background App Refresh and the installed app version. Don't erase a library to diagnose a task that hasn't run.
| Problem | Likely cause to check | Next action |
|---|---|---|
| Foreground upload works but Android background upload waits | Battery restrictions, charging-only choice, or delay setting | Inspect the phone's detailed battery controls and the app's background options |
| iPhone upload resumes when opened | iOS hasn't run the background task | Check Background App Refresh, then complete the urgent transfer with the app open |
| Upload count is below the selected asset count | Identical files may already exist | Inspect the server library for the named items |
| App cannot reach the server away from home | The entered address isn't reachable on that network | Use your established remote-access address; don't change album settings |
Two ways to keep the library manageable
For selective uploads, the Mobile App manual documents Settings > Photo Grid > Show Storage indicator on asset tiles. Select local-only photos from a chosen device album and use Upload in the bottom menu. This works for a deliberately chosen set when a whole camera roll would include unwanted images.
For matching album names, enable album synchronization. It copies the device's album organization toward the server. Use Reorganize into album to put existing uploads into the matching server albums. Editing a server album doesn't reorganize the phone gallery; choose one place as your starting point for future sorting.
Completion checklist
- The sample images and video open in the server's web library.
- The chosen account and device albums are correct.
- A new photo completes its upload using the phone settings you selected.
- The server has a separate database dump and filesystem backup.
Next steps and sources
For a wider file workspace, see Nextcloud. pCloud and Dropbox offer hosted storage choices, while Syncthing handles device-to-device folder synchronization. Browse file utilities for related storage tools.
Official Mobile App, Mobile Backup, and Backup and Restore documentation checked October 9, 2026. The two linked mobile threads cover background-upload problems and their replies.
Related articles
Directory
Listings in this article
-
Immich
Immich is a self-hosted photo and video management solution. It allows users to back up, organize and manage photos on their own server, and to browse, search and organize photos and videos. Android, iOS and server downloads are offered.