How to Resize Images with Photopea
How to resize images with Photopea: crop to a new shape, set pixel dimensions and export a smaller file while keeping a layered original for later edits.
On this page
To resize images with Photopea, open your file, change its pixel dimensions and export a copy. You need the original image and a browser. This guide covers a smaller version for the web, a crop to a different shape and an editable file you can return to later.
How to resize images with Photopea without confusing size and crop
Image Size scales the picture. Canvas Size changes the area around it, cutting off edges or adding room without making the objects themselves smaller. If you need a square version of a rectangular photo, shrinking both dimensions to the same number stretches it. Crop the shape first, then resize.
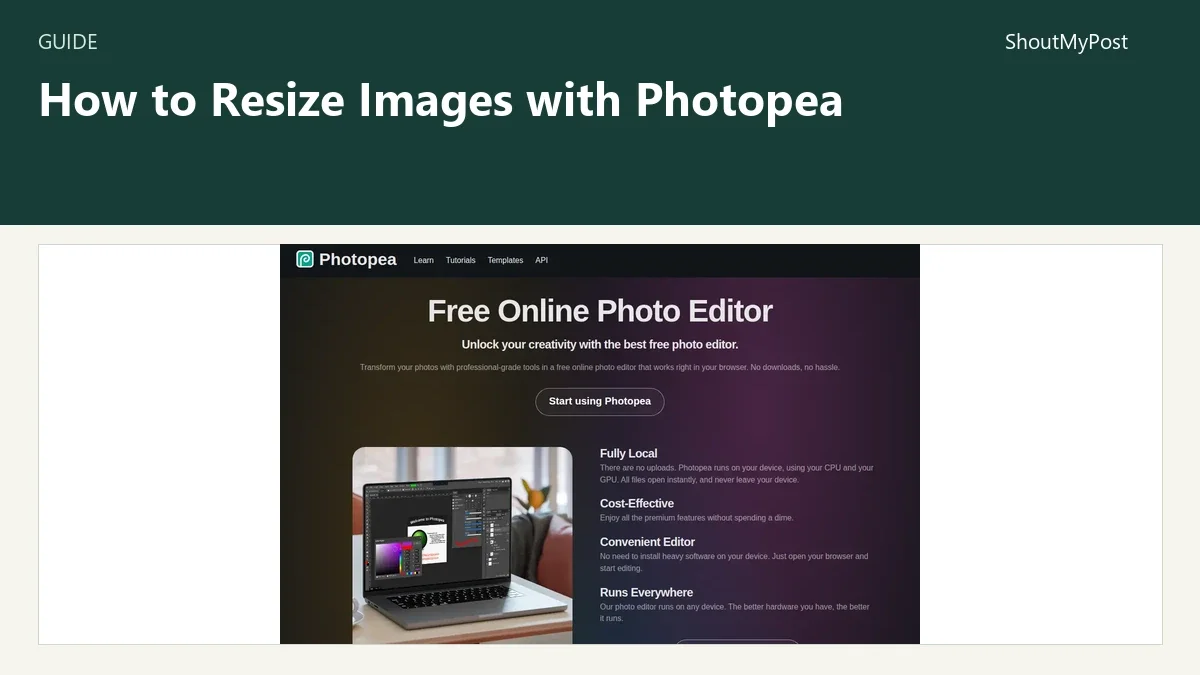
The Photopea listing is the starting point. Photopea's official Image size chapter explains the two controls, while its Open and Save chapter covers exporting. My pick for an ordinary website photo is to preserve the original, make the crop on a working document and create a clearly named delivery file.
1. Open the image as its own document
Choose File > Open and select the image. It should appear as a document in the editor. If another document is already open, dropping a file onto its canvas inserts a Smart Object layer. Drop onto the document-tab area when you want a separate document instead.
That difference matters when you are resizing several photographs. An unexpected extra layer means you placed the second photo inside the first. Return to the original file and open it through the menu, so each picture has its own dimensions.
Use a descriptive file name before starting. For example, garden-original.jpg and garden-article.jpg make the source and result easier to tell apart. These are example names, not a naming rule from Photopea.
2. Save a working file before changing the picture
Choose File > Save as PSD when the document contains editable text, masks or layers you want to keep. PSD is Photopea's working format; a flattened JPG won't preserve that editing structure.
For a single photograph, keeping the untouched source is usually enough. For a cover with a title over the photo, save the layered version too. You can then fix a spelling mistake without repainting the background behind the letters.
Photopea's Open and Save documentation also describes saving back to an original destination. Exporting a separately named copy is the clearer route when you want both the source and a smaller result.
3. Choose the crop before entering final dimensions
Select the Crop tool and draw a rectangle over the picture. Move the rectangle to keep the subject inside it; drag a corner to change the selected area. Confirm the crop in the top menu when the composition looks right.
Suppose you have a wide photograph of a bicycle and need a square thumbnail. Keep the bicycle and enough space around its wheels inside the square. The part outside that crop won't appear in the exported thumbnail. You cannot keep the entire wide scene inside a square without either empty space or a change of shape.
Use Image > Canvas Size when a numerical canvas change is a better fit. Photopea's official tutorial for a specified width, height and DPI combines scaling with a canvas crop. For a recognizable face or product, the Crop tool gives you a more direct view of what will remain.
4. Set the document's pixel dimensions
Open Image > Image Size and enter the new size. Work in pixels for a web image. A 1,200-pixel-wide delivery image is an example target, not a universal recommendation: use the dimensions requested by the site where you will publish it.
Keep the original proportions unless you intentionally want distortion. If the source is 2,400 by 1,600 pixels, a proportional half-size copy is 1,200 by 800. If the destination demands 1,200 by 675, the picture also needs a crop. Those two changes solve separate parts of the request.
Photopea's Image size documentation confirms that this command scales the document's content. Its DPI field is for physical sizing; the width and height in pixels are the numbers to compare with a website's image specifications.
5. Export the delivery copy
Choose File > Export As > JPG for a photograph, or File > Export As > PNG when the result needs transparency. In the Save for Web window, check the output dimensions, then select Save.
You can enter dimensions in that export window too. That's handy when the working document should stay large and only the delivery copy needs to be smaller. Give the download a name that includes its purpose, such as garden-thumbnail, so you don't mistake it for the editable source next month.
Open the downloaded file separately. Confirm the subject is intact and the image has the intended shape. Judge text at its intended display size: zooming a small thumbnail to fill a large monitor makes every pixel more obvious.
Problems people run into
A May 2026 resizing discussion describes a drawing being squeezed into a 640-by-640 result. A reply recommends making the canvas square before shrinking it. That order avoids turning a tall drawing into a squat one.
A March 2026 preview-versus-result thread reports an enlarged image looking different after confirmation. The reported fix was Edit > Preferences > Interpolation, switching to Nearest Neighbor. Use that choice for intentionally hard pixel edges; it isn't a blanket fix for photographs.
Photopea's February 2026 resampling issue describes dimensions staying unchanged when Resample was disabled. For a web copy with a different pixel count, make sure you're performing a pixel resize. Changing a print-size label alone won't create the extra detail missing from a tiny source.
| Problem | Cause to check | Fix |
|---|---|---|
| A face looks wider | Width and height changed to an incompatible shape | Start from the source and crop the desired shape before scaling |
| A second photo became a layer | It was dropped onto an existing canvas | Open it through File > Open |
| Pixel art has softened edges | The interpolation choice blends neighboring pixels | Try Nearest Neighbor for the pixel-art copy |
| The source looks blurry in another viewer | The viewer or system is enlarging the image | Compare at its intended display size before exporting again |
Photopea's tutorial on blurry images explains how system display scaling can make the same file look different across viewers. Repeatedly resizing the source to chase that preview can make diagnosis harder.
Two variations for different jobs
For a thumbnail that includes editable lettering, keep the PSD and export each final size from that working file. For a photograph with no added layers, keep the camera original and make a separate delivery copy. Neither job needs a subscription just to follow these resizing steps.
If you repeatedly scale a placed layer during a composition, Photopea's Smart Objects documentation explains how the stored source protects it through later transformations. That is a different task from resizing the whole document once for export.
Completion checklist and next steps
Browse Creative & Design for the wider set of tools around the finished image.
- The downloaded file has the requested pixel dimensions.
- The crop keeps the subject and any necessary lettering.
- The source image and layered working file are still available.
- A transparent image stayed transparent in the chosen format.
For another editing approach, browse GIMP's listing or Pixlr's listing. For the final file-size step, Squoosh focuses on compression. The image-editing category has more choices.
Sources
Photopea's Image size, Open and Save, Smart Objects and specified-dimensions tutorials; its explanation of display scaling; the linked resizing discussions and resampling issue. Official instructions checked October 9, 2026.
Related articles
Directory
Listings in this article
-
Photopea
Photopea is a free online photo editor that runs directly in web browsers with no required downloads or file uploads. It supports professional file formats including PSD and RAW, and offers editing tools such as cropping, resizing, layering, masking, and blending. All processing occurs on the user's device, so files never leave their hardware.